Installing the Skublox Wall
The Skublox Wall is easy to install and requires no special skills or tools.
This article includes how to configure the wall, connect the lights, and properly disconnect the wall when needed. Keep in mind that the installation process is always the same; it will not change regardless of the wall size.
After reviewing the Skublox Wall components below, you can jump to the following sections to learn about:
- Connecting the Hub
- Connecting your Skublox Wall
- Connecting a Repeater
- Initiating the Skublox Wall configuration
- Shutting down your Skublox Wall configuration
- Troubleshooting common installation issues
Understanding the Skublox Wall components
In addition to Skublox’ software applications, Sellercloud provides you with all the hardware equipment and instructions needed to easily install the Skublox Wall.
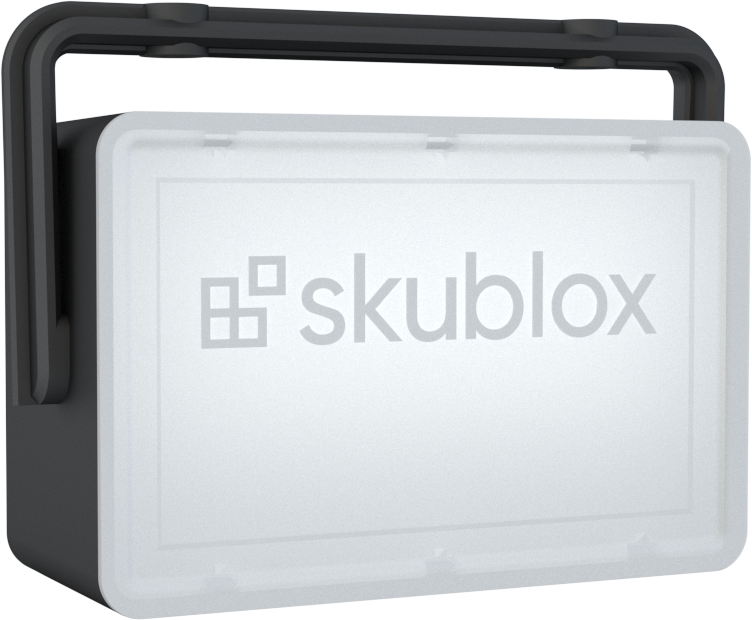
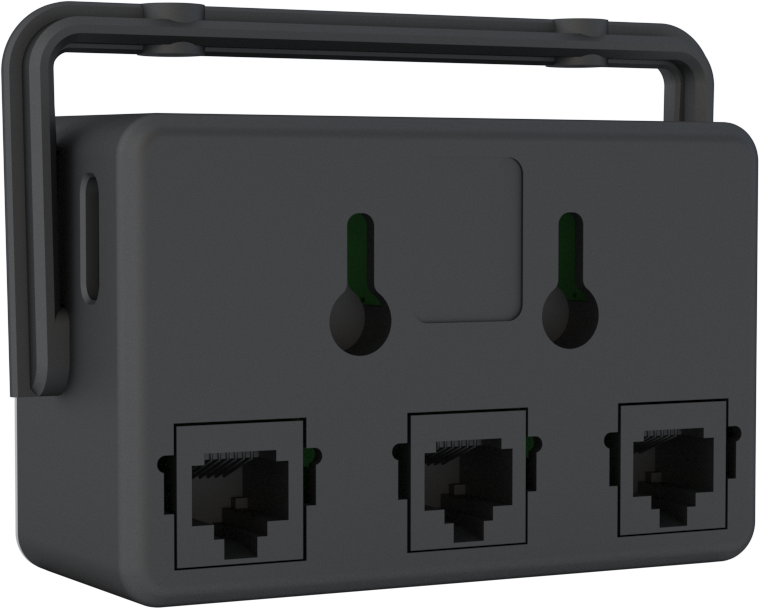
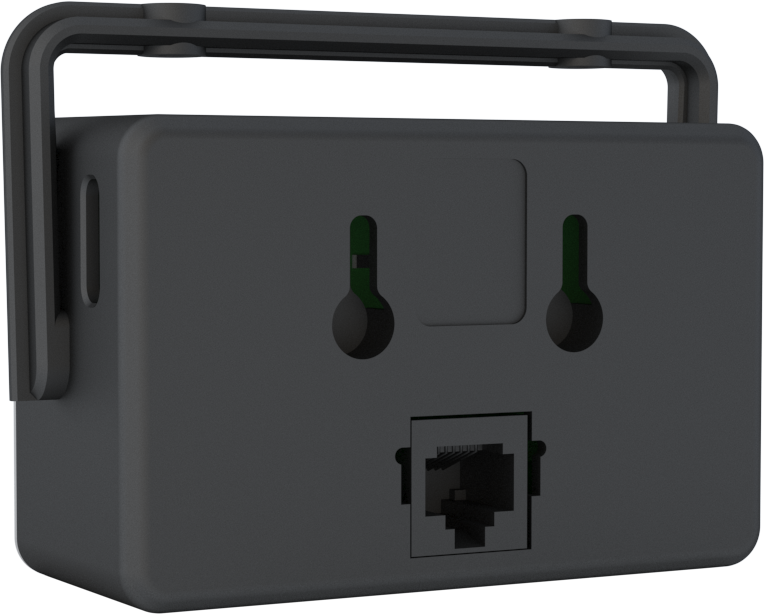
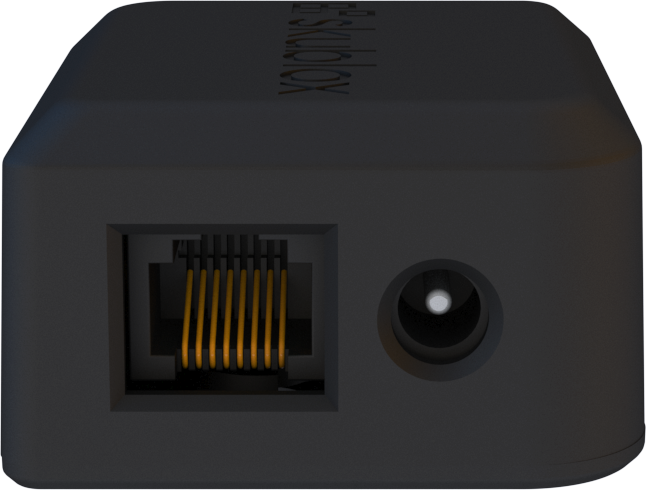
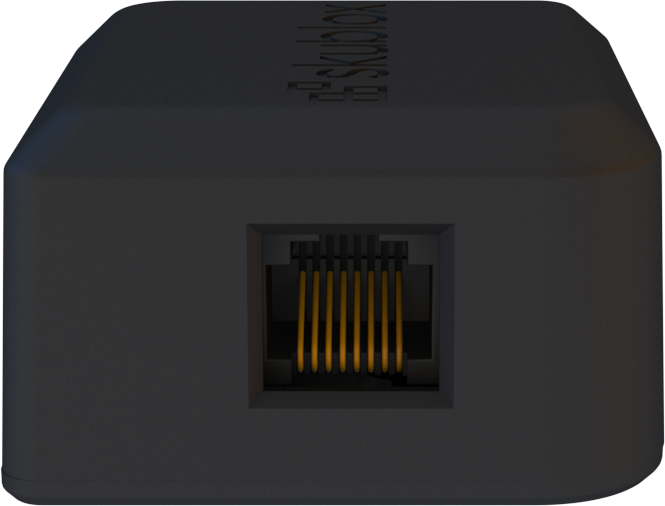
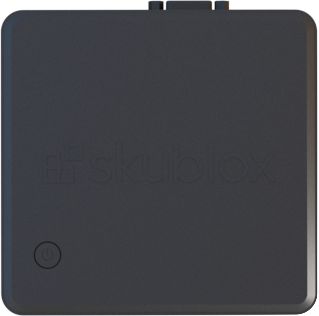
The Skublox Wall package contains the following parts (see the Skublox Wall package for actual quantities):
Skublox Wall package
The standard package contains part quantities for 50 slots:
- 50 – Sorter Lights
- 50 – Shipper Lights
- 100 – Mounting Clips
- 2 – Repeaters
- 1 – Hub Device
- 50 – UTP cables – 2 feet (0.5 m)
- 50 – UTP cables – 3 feet (1 m)
- 3 – Power Supplies
- 1 – USB A-B cable
- 1 – Controller PC
Connecting the Hub
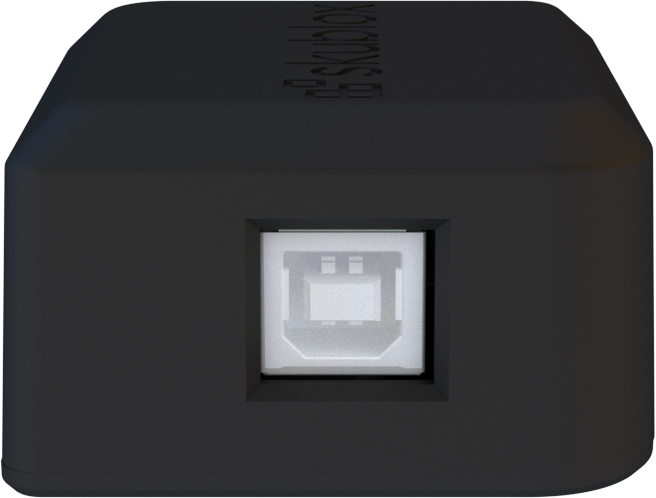
- Use the USB A-B Cable to connect the Hub with the Controller PC.
- Connect the Power Supply to the Hub.
- Use the 3-foot Ethernet Cable to connect the Hub to the first Sorter Light in the configuration.
Connecting your Skublox Wall
- Connect the Hub to the first Sorter Light with a 3-foot Ethernet Cable via the Connection In port.
- Connect the Sorter Light to the Shipper Light by plugging a 2-foot Ethernet Cable into the Shipper Light Connection (center) on the Sorter Light and the ethernet port on the Shipper Light.
- Connect the Sorter light Connection Out to the next Sorter Light using the 3-foot Ethernet Cable.
- Repeat steps 1 through 3 until your first 20 Lights are connected. Next, connect the last Sorter Light Connection Out port to the next cluster of lights via a Repeater and 3-foot Ethernet Cable.
- Use the Power Supply to connect the Repeater to the power source.
- Connect the Repeater to the next Sorter Light Connection In port with a provided 3-foot Ethernet Cable.
- Repeat these steps for the next 20 Lights.
Connecting a Repeater
- Use the provided 3-foot Ethernet Cable to connect the Repeater with the Connection Out port on the previous Sorter light.
- Use a 3-foot Ethernet Cable to connect the Sorter light Connection Out port to the next Sorter light Connection In port.
- Connect the Power Supply to the Repeater.
Initiating the Skublox Wall configuration
After completing your configuration and installing the Skublox app, the Wall will perform a power-on-self-test. The sorter boxes will flash in the following color sequence:
- Red → Green → Blue → Cyan → Magenta → Yellow → Green (Shipper)
When you see the green light, your Skublox Wall is now installed and ready to use!
Shutting down your Skublox Wall configuration
Follow these steps carefully to disassemble your Skublox Wall configuration:
- Unplug all Power Supplies from their power sources.
- Disconnect the USB A-B cable port from the Controller PC.
- Disconnect the Hub from the lights.
Understanding common installation issues
As a Skublox user, it’s important to be aware of common issues during the installation. The table below describes some of these issues and their possible solutions.
| WARNING | DESCRIPTION | SOLUTION |
| Sorter Light flashes green | Shipper Light is not connected | Check whether cables are in the right connectors of Sorter and Shipper Lights |
| Sorter Light flashes yellow | The version of Shipper Light is not supported | Contact Customer Support for a replacement |
| Shipper Light flashes green | Shipper light connected to Next (N) of the Sorter Light | Put the shorter UTP cable (0.5 m) to Shipper (S) connector of Sorter Light |
| Shipper Light does not go out after shipping | Unreliable Wi-Fi network | It is recommended to use an Ethernet cable for a stable connection |
| Skublox Hub Application does not detect any Sorter or Shipper Lights after a hardware modification | If slot wiring is assumed correct, USB communication might be affected | Try a different USB port |
